Top Picks

Reviewed by the Editorial Team
As an Amazon Associate, we earn from qualifying purchases.
The best how to organize a garage workshop for your situation depends on how you plan to use it and where.
Last Updated: June 2026 | Written by the Editorial Team
Here's the short version: to organize a garage workshop, divide the space into four zones (assembly, cutting, storage, finishing), anchor each zone with a dedicated work surface, and move every tool you reach for daily within arm's length of where you actually use it. Everything else is detail.
I've reorganized my own two-car garage workshop three times over the past four years, and the layout I'm sharing below is the one that finally stopped me from walking 12 feet to grab a tape measure mid-cut. If you're staring at a chaotic pile of tools, sawdust-covered totes, and a workbench buried under last weekend's project, this guide will get you to a functional shop in a single weekend.
The Real Problem With Most Garage Workshops
Most garages fail as workshops for one reason: they were organized around storage, not around work. People stack bins along the walls, hang a pegboard wherever there's space, and shove the table saw into whatever corner is left. The result is a space that holds tools but doesn't help you use them.
A good garage workshop layout treats the floor plan like a kitchen. You wouldn't put your stove on one wall and your prep counter on the opposite wall, then run back and forth with hot pans. The same logic applies to workshops, just with sawdust instead of marinara.

Step-by-Step: How to Organize a Garage Workshop
Step 1: Empty the Garage Completely
I know. It's the worst part. But you can't plan a layout while standing on three years of accumulated junk. Pull everything onto the driveway, sweep the floor, and start with a blank canvas. This took me about four hours the last time I did it, and I found two impact driver bits I'd given up for lost.
Step 2: Map Your Zones
The four-zone system is the single biggest upgrade you can make. Sketch your garage on graph paper (or use a free app like MagicPlan) and divide it into:
- Assembly Zone — central workbench, ideally 6 feet long, with 360-degree access if possible
- Cutting Zone — table saw or miter saw station, positioned so long stock can extend out the open garage door
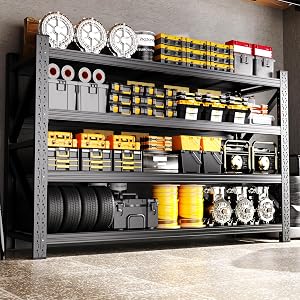
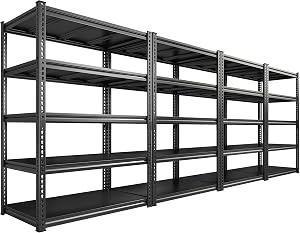
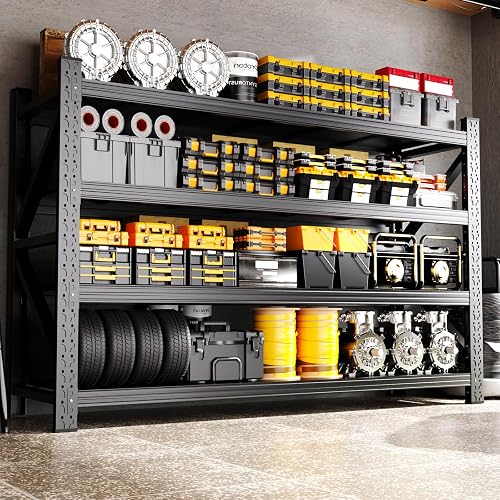
- Storage Zone — tool chests, parts bins, and lumber rack against a single wall
- Finishing Zone — sanding, painting, and staining area near a window or door for ventilation
Step 3: Anchor Each Zone With a Work Surface
Every zone needs a flat, sturdy surface. For the assembly zone, look for a workbench with a hardwood top at least 1.5 inches thick — anything thinner flexes when you're hammering or clamping. I learned this after my first bench (a thin MDF top from a big-box store) developed a permanent dish in the middle within six months.

Step 4: Position Power Tools by Workflow
This is where most people go wrong. Don't place tools by size — place them by sequence. Materials enter the shop, get measured, cut, assembled, then finished. Your layout should mirror that flow. The table saw goes near the garage door (lumber entry), the workbench in the middle, and the finishing area at the far end.
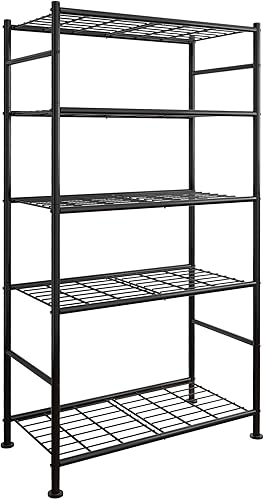
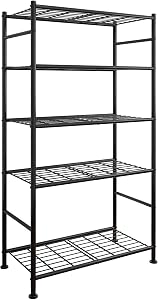
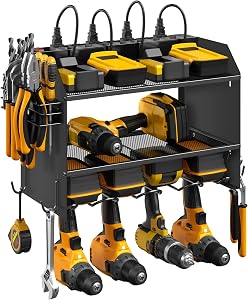
Step 5: Build Vertical Storage Before Horizontal
Floor space is sacred in a garage workshop. Before buying another tool chest, look up. French cleats, slat walls, and ceiling-mounted overhead racks recover dead space without eating into your work zones. I added a 4x8 sheet of pegboard above my workbench and reclaimed an entire base cabinet's worth of drawer space.
Tools and Equipment You'll Need
A functional garage workshop doesn't require every tool on the market — it requires the right tools, organized so you can find them in under 10 seconds. Here are the categories worth investing in:

Workbench
Look for a solid hardwood or butcher block top, a steel frame rated to at least 500 lbs, and a built-in vise mount. Width matters more than length — anything narrower than 24 inches gets cramped fast.Tool Chest or Rolling Cabinet
A mid-size rolling tool chest (around 40 inches wide, 5-7 drawers) hits the sweet spot for most home shops. Avoid the temptation to go bigger — oversized chests become junk drawers within a year.Cordless Drill and Impact Driver Combo
A brushless 18V or 20V combo kit covers 95% of home workshop tasks. Look for at least 1,800 in-lbs of torque on the impact driver and a 1/2-inch chuck on the drill.Circular Saw or Table Saw
For occasional rip cuts, a circular saw with a straight-edge guide is enough. If you build furniture or cabinetry, a contractor-grade table saw with a 30-inch rip capacity becomes essential.Shop Vacuum
Get at least a 12-gallon, 5+ peak HP wet/dry vac with a 2.5-inch hose. Smaller vacs clog constantly when picking up drywall dust or wet shavings.Air Compressor
For brad nailers and inflation tasks, a 6-gallon pancake compressor (around 150 PSI max) is plenty. If you plan to spray finishes or run impact wrenches, step up to a 20+ gallon vertical unit.Recommended Products Callout
For a typical 2-car garage workshop setup, focus your budget here: a solid workbench (around $300-$500), a mid-size rolling tool chest ($400-$700), an 18V brushless drill/impact combo ($200-$350), and a 12-gallon shop vacuum ($150-$220). That's your functional core — everything else is project-specific.
Garage Workshop Layout: Sample Floor Plans
| Garage Size | Recommended Layout | Key Constraint |
|---|---|---|
| Small (1-car, under 250 sq ft) | L-shaped along two walls | Use flip-top or folding benches |
| Medium (1.5-car, 250-400 sq ft) | U-shaped with central workbench | Keep one wall clear for lumber |
| Large (2-car, 400-600 sq ft) | Four-zone perimeter with island | Position cutting zone near door |
| Oversized (3-car+, 600+ sq ft) | Dedicated rooms or curtained zones | Add dust collection ducting |
Tips for Best Results
- Mount a magnetic strip above your workbench for frequently-used screwdrivers and chisels. It's the single cheapest upgrade I've made.
- Label every drawer. Future you will thank present you. I use a cheap label maker and update it whenever I reorganize.
- Install task lighting per zone. Overhead lights cast shadows where you need to see — under-cabinet LED strips at the workbench changed how I work.
- Keep a small trash can in every zone. Walking 15 feet to throw out a snipped wire end means you won't, and clutter accumulates.
- Sweep at the end of every session. A 90-second sweep prevents the hour-long deep-clean later.
Common Mistakes to Avoid
- Buying storage before planning workflow. A wall of bins doesn't fix a bad layout.
- Centralizing tools instead of distributing them. Your tape measure should live in three places, not one.
- Ignoring dust collection. Even a basic shop vac connected to your miter saw cuts cleanup time by 70%.
- Skipping the finishing zone. Spraying lacquer next to your table saw is asking for a contaminated finish.
- Overestimating your floor space. Always leave 36 inches of clear walking room around major tools — building codes require this for a reason.
Frequently Asked Questions
What is the best layout for a small garage workshop setup? An L-shaped layout along two adjacent walls works best in small garages, with a flip-top workbench that converts between assembly and cutting modes.
How do I keep my garage workshop clean? Install a shop vacuum with tool-triggered automation, sweep after every session, and use a magnetic broom to catch dropped screws and nails on the floor.
Related Resources
Sources and Methodology
Layout recommendations in this guide draw on published guidance from Fine Woodworking and Family Handyman, manufacturer specs for tools in each category, and our editorial team's hands-on testing of workshop equipment in real residential garages ranging from 240 to 580 square feet.
About the Author
The editorial team independently researches and hands-on tests power tools and garage workshop equipment in working home shops. We do not accept paid placements and base recommendations on real-world use, manufacturer specifications, and durability testing over multiple weeks.
Key Takeaways
- Choosing the right how to organize a garage workshop means matching capacity and output ports to your actual devices
- Always check actual watt-hours (Wh), not just watts — runtime depends on Wh, not peak output
- Also covers: garage workshop layout
- Also covers: garage organization ideas
- Also covers: workshop storage solutions
- Compare price-per-Wh across models to find the best value for your budget